In construction projects, skipping the waterproofing step is a significant oversight. This step determines the quality and durability of the area being built. If waterproofing is neglected, water infiltration can occur, leading to costly dismantling and repairs in terms of both time and money. Therefore, implementing a proper waterproofing process before finishing areas such as bathroom floors, balconies, terraces, swimming pools, etc. is crucial.

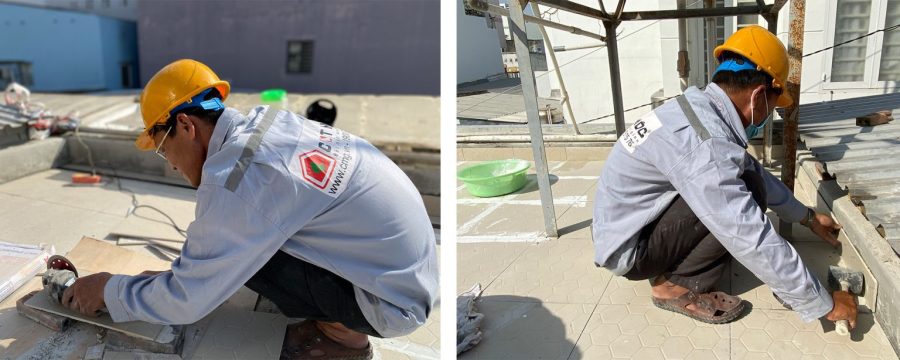
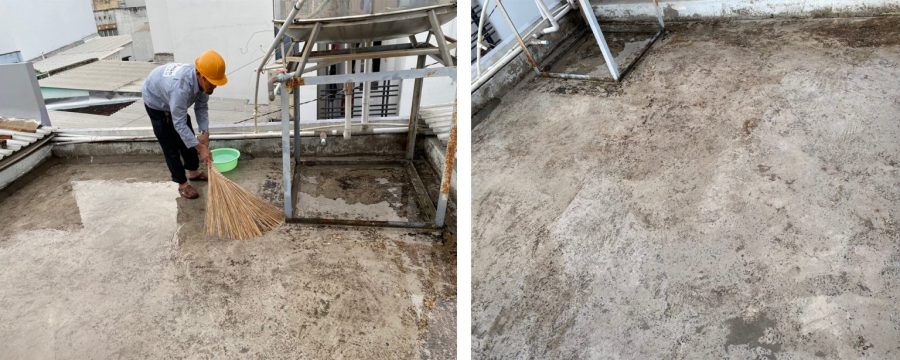
Preparation Work
- Tools: Trowel, chisel, wire brush, broom, bucket, electric mixer drill…
- Remove any obstructions from the work area.
- Chisel away any loose or non-solid concrete.
- Use a grinding machine with a brush or a wire brush to clean the concrete surface thoroughly.
- Prepare necessary materials such as cement, waterproofing agent (Intoc-04), and water.
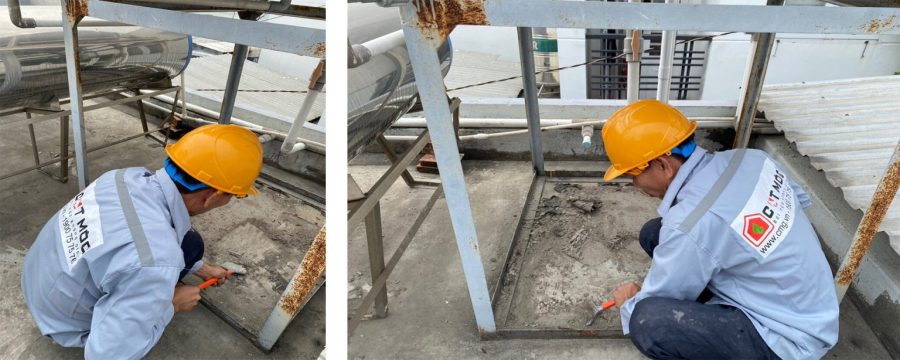
Inspection During Construction
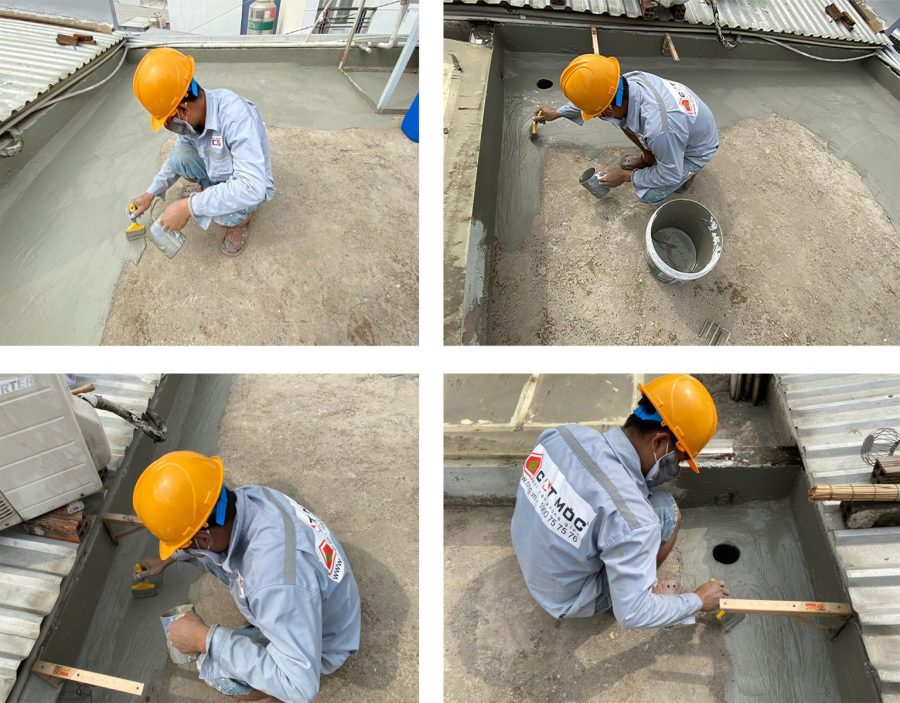
STEP 1:
Clean and remove any leaks or weak spots on the surface, ensuring it is completely dry before proceeding. A clean surface ensures high-quality waterproofing with an ideal level of smoothness.
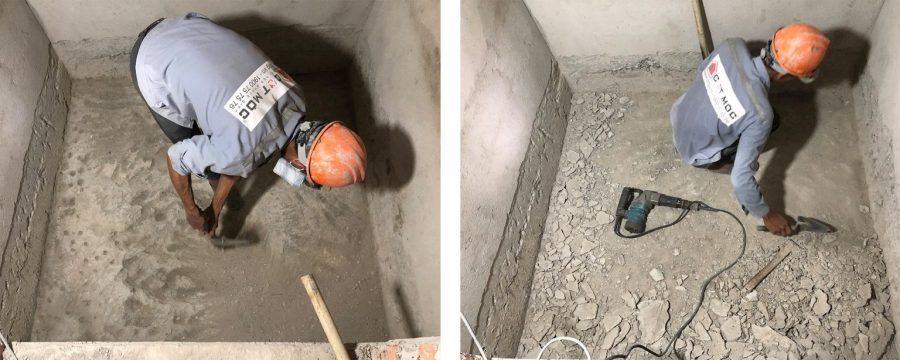
STEP 2:
Spray water to moisturize the concrete surface before applying waterproofing materials. This step facilitates better adhesion of the waterproofing membrane.
STEP 3:
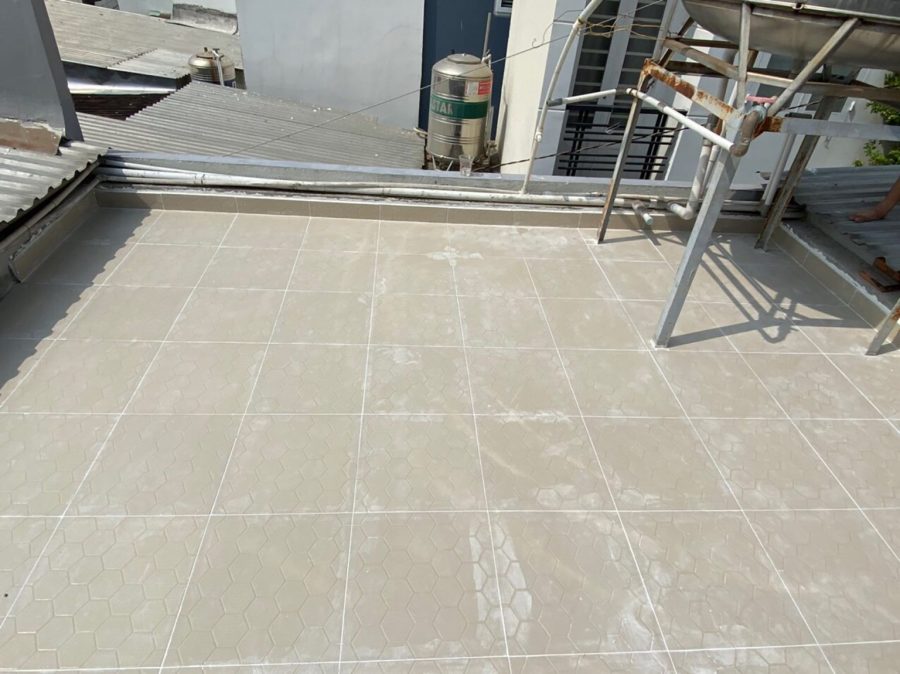
Mix cement into a smooth, flexible paste and immediately apply it to the surface to complete the waterproofing process. The minimum thickness of the waterproofing layer should be 0.4mm. It is recommended to apply a protective mortar layer or install heat-resistant tiles on the roof slab.
Final Inspection of Waterproofing Work
After 24 hours, once the waterproofing layer has dried, perform a water immersion test for another 24 hours to assess the quality of the work. Upon approval, proceed with applying a protective mortar layer to reinforce the waterproofing.